|
|
|
|
|
|
| Home | Development | Partners | Resellers | About |
 |
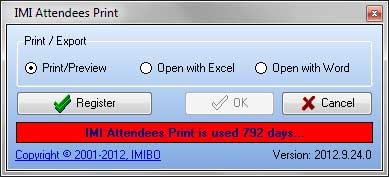
and fast utility for Exchange Admin to get, print and export Mailbox Resource Statistics, intended to cover the lack of print capabilities in the current version of the Exchange Admin. |
 |
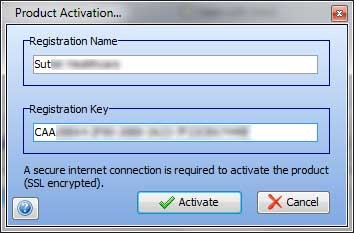
Questions & Answers - IMI Attendees Print Q1. How to verify IMI Attendees Print installation Q2. How to export all appointments for current month Q3. How to Activate the application
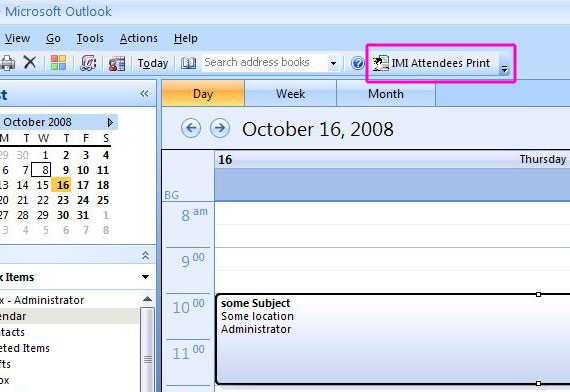
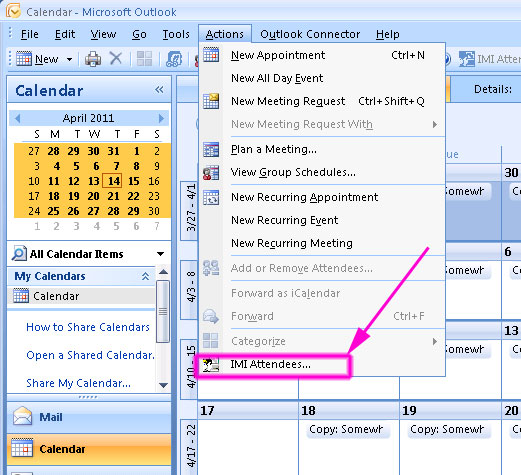
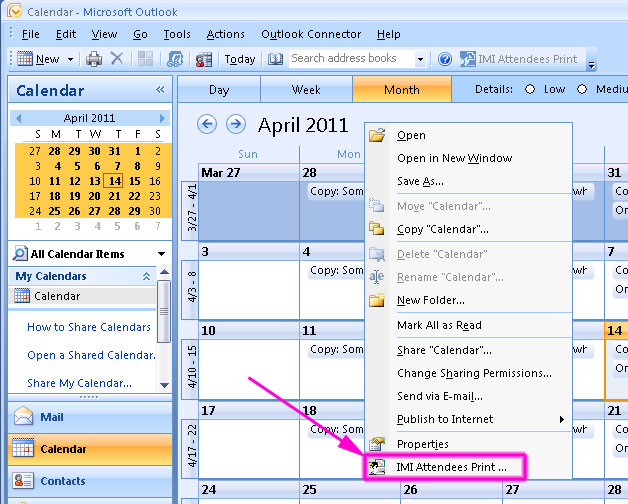
1. Start Microsoft Office Outlook 2007. Go to Outlook "Calendar Folder"
and select an existed Appointment item The IMI Attendees Print button will change own state from "disabled" to
"enabled" (see snapshot above). If you see IMI Attendees Print button in both places (1 & 2), you can skip next steps. 3. Go to Microsoft Office Outlook 2007 main menu and select "Help". Then select "Privacy Options" item from menu
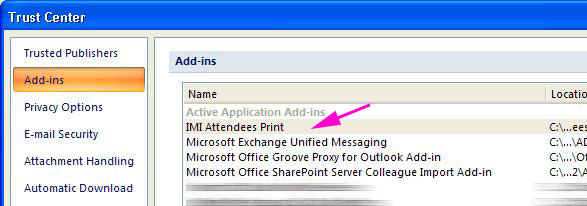
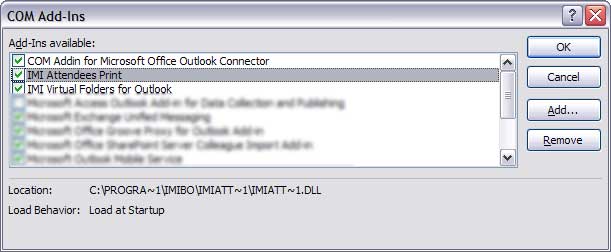
4. Check for "IMI Attendees Print" COM add-in existence.
Be sure that "IMI Attendees Print" appears under "Active Applications
Add-ins".
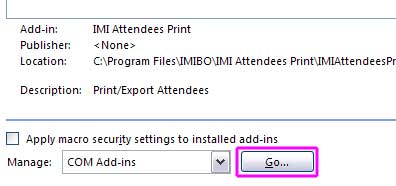
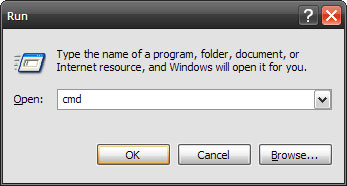
Be sure that "IMI Attendees Print" is checked Otherwise, follows next steps. 5. Close Microsoft Office Outlook 2007. Go to "Start" button, "Run" and
type CMD.
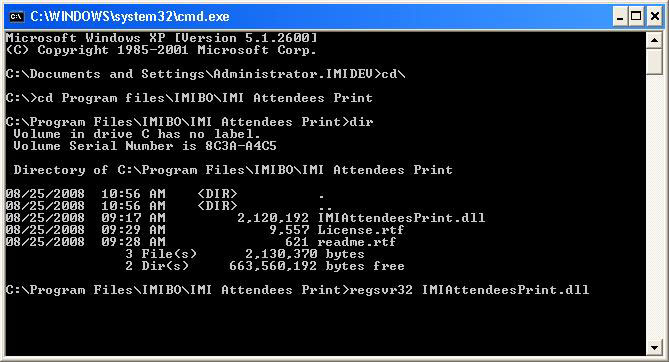
6. New window (command prompt) will be opened. Verify that file IMIAttendeesPrint.dll exists. regsvr32 IMIAttendeesPrint.dll
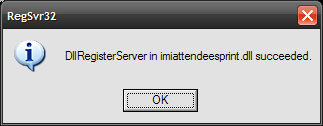
This action (regsvr32 IMIAttendeesPrint.dll) will register "IMI Attendees Print" as Microsoft Office Outlook Add-in. If registration is successful, you will see dialog window, similar to:
Click "OK" button. Inside "command prompt", type Exit and press Enter. 7. Start Microsoft Office Outlook 2007 and verify steps 1 and 2 described above.
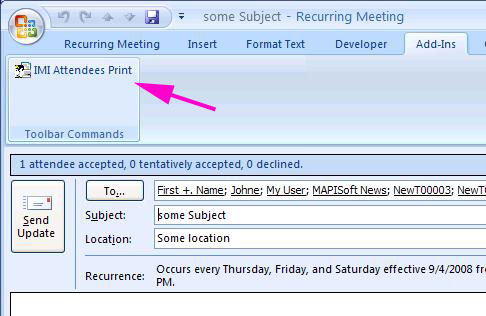
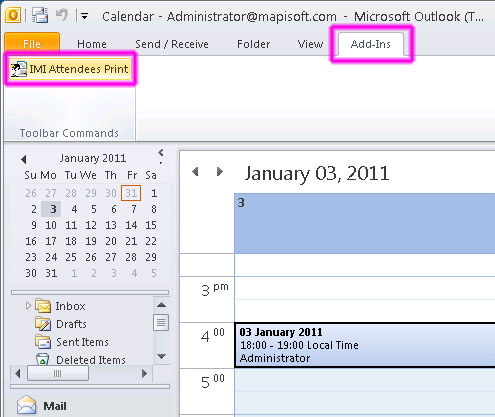
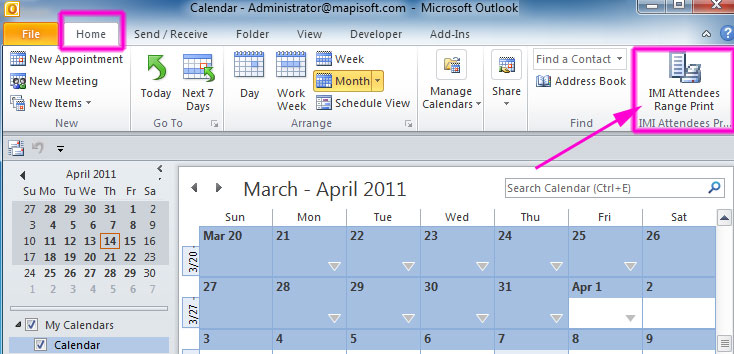
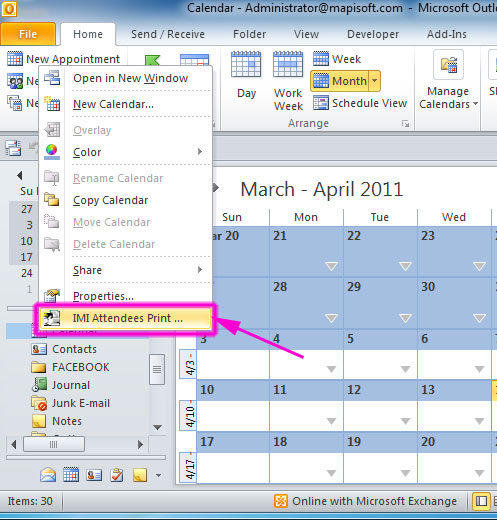
1. Start Microsoft Office Outlook 2010. Go to Outlook "Calendar Folder"
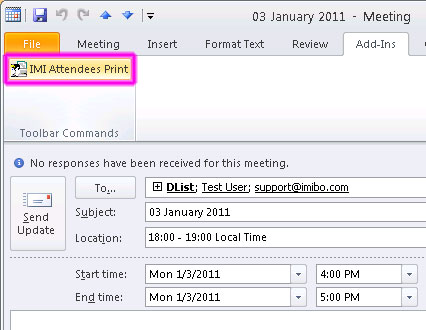
and select an existed Appointment item 2. Open selected Appointment. Click over "Add-Ins" tab. The IMI Attendees
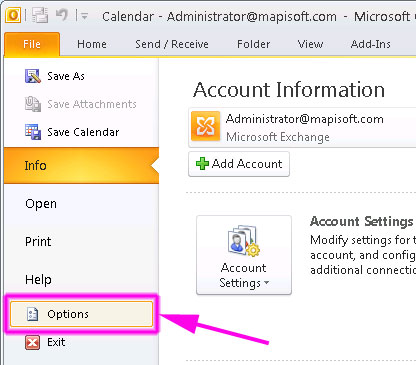
Print button will be enabled. If you see IMI Attendees Print button in both places (1 & 2), you can skip next steps. 3. Go to Microsoft Office Outlook 2010 File Tab and
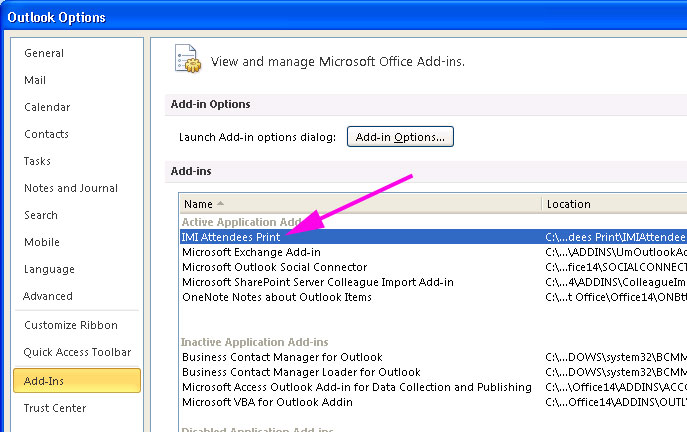
click "Options". This will open a new dialog. 4. Select Add-Ins and check for "IMI Attendees Print" Add-in existence.
Be sure that "IMI Attendees Print" appears under "Active Applications
Add-ins". Otherwise, follows next steps. 5. Close Microsoft Office Outlook 2010. Go to "Start" button, "Run" and
type CMD.
6. New window (command prompt) will be opened. Verify that file IMIAttendeesPrint.dll exists. regsvr32 IMIAttendeesPrint.dll
This action (regsvr32 IMIAttendeesPrint.dll) will register "IMI Attendees Print" as Microsoft Office Outlook Add-in. If registration is successful, you will see dialog window, similar to:
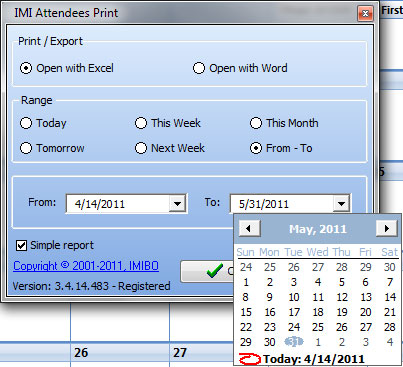
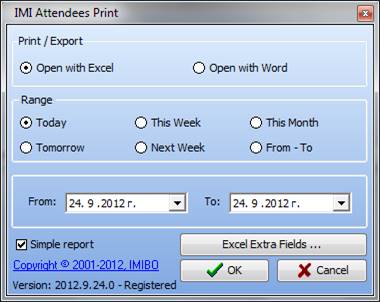
Click "OK" button. Inside "command prompt", type Exit and press Enter. 7. Start Microsoft Office Outlook 2010 and verify steps 1 and 2 described above. A2. Starting with IMI Attendees ver. 3.4, you can select date range when you export to Excel or Word
When you
select “Range Export”, you will see a button named “Excel Extra Fields…”:
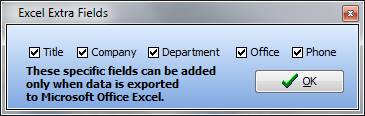
Click
over the button “Excel Extra Fields…”
If there
is some data for these fields, they will appears in Excel
report.
How To Open Elevated Command Prompt With Administrator Privileges In
Windows Vista / 7 / 8 and above
There is a security feature in
Windows Vista / 7 / 8 that comes with User Access Control (UAC) which means
processes are launched in restricted mode unless users specifically accept
the elevation confirmation. For example running a regsvr32.exe command which
is used to register DLL/ActiveX or opening a batch file or script requiring
administrative privileges require you to open an elevated Command Prompt.
Elevated Command Prompt always run under administrative privileges so users
need to launch command prompt will full admin rights and permission state.
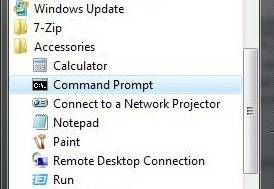
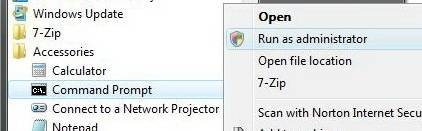
Method 1
Navigate to
Start menu >
All Programs >
Accessories, here you will see
Command Prompt shortcut.
Right
click on Command Prompt
and select Run as Administrator.
Method 2
Go to
Start menu. Type
cmd in the
Search Menu.
Press Ctrl + SHIFT and
Click on the cmd shortcut on the
Start Menu. Ctrl-Shift-Enter is
the general keyboard shortcut that triggers elevation to “Run as
Administrator”. |
Copyright © 2021 IMIBO
Privacy Statement |